
As a professional custom vanity stool with storage manufacturer, we offer a wide range of customization options, including wood, sizes, shapes, clours, foams, fabrics and package methed, to meet the unique needs of different businesses.
We provide free design support or send us your own designs. With a standard lead time of around 35-40 days, our efficient production helps you test the market quickly and gather feedback with ease.
Our team is experienced in OEM and ODM projects, ensuring your branding and packaging requirements are fully met.
With a strong focus on quality and material, every footstool is built for durability and style. We value clear, responsive communication, aiming to exceed expectations from consultation to final delivery.
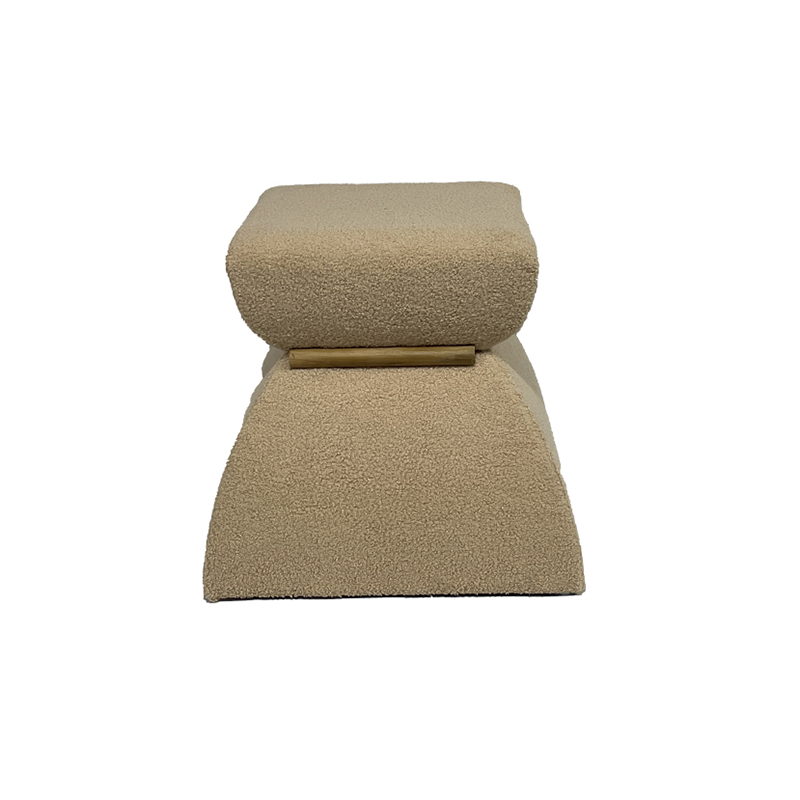
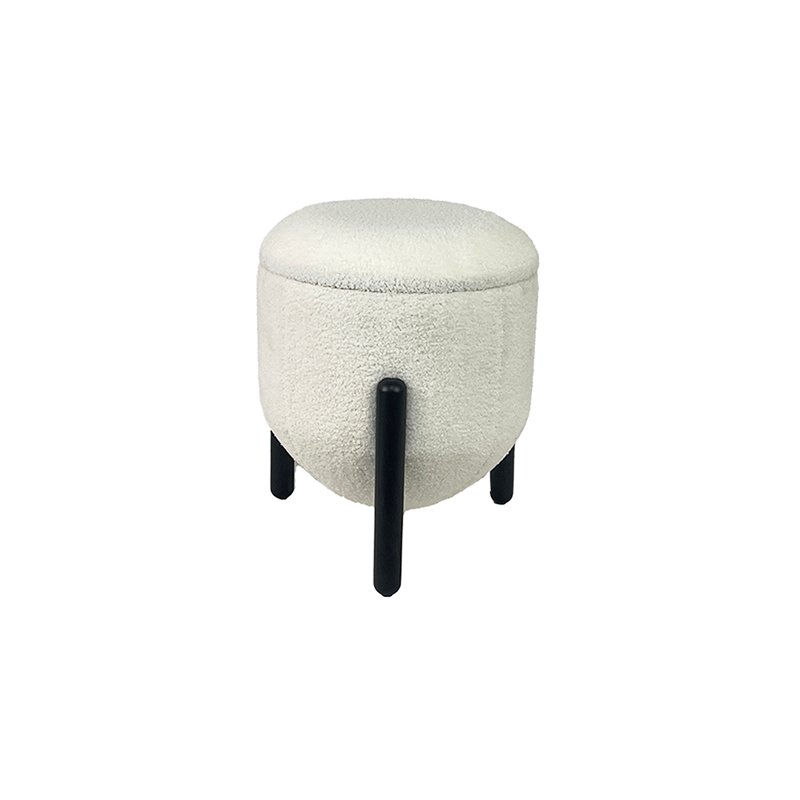
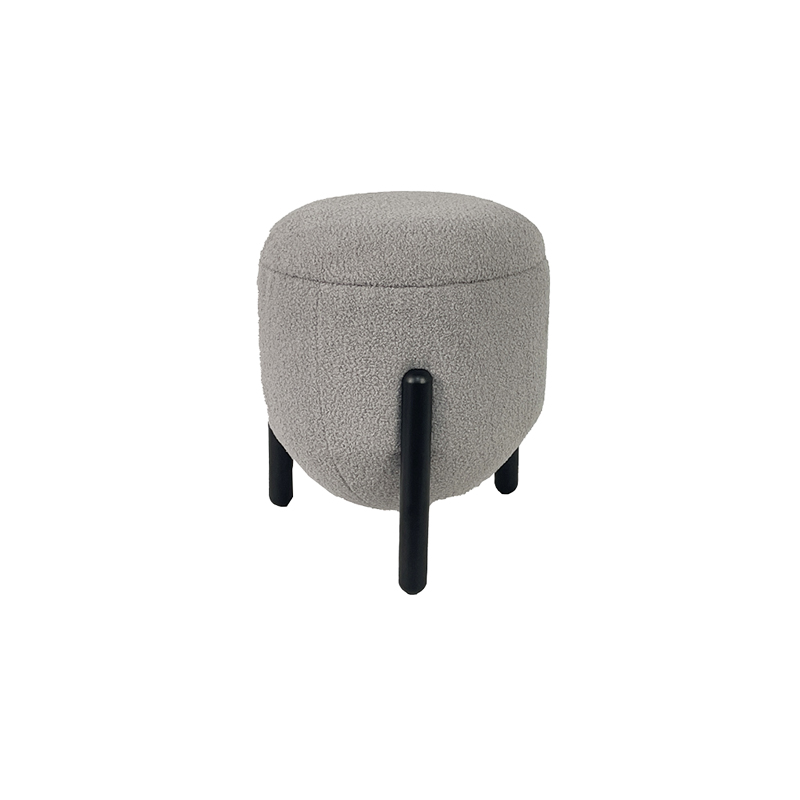
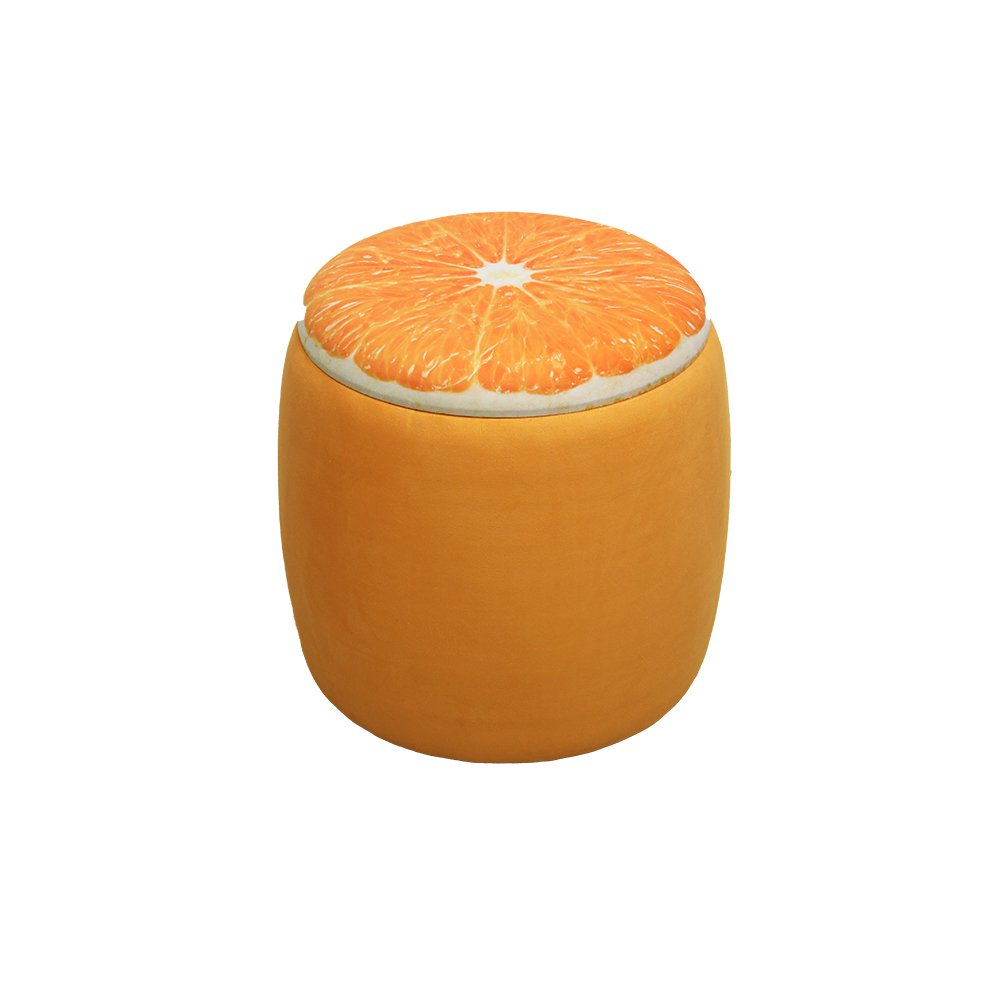
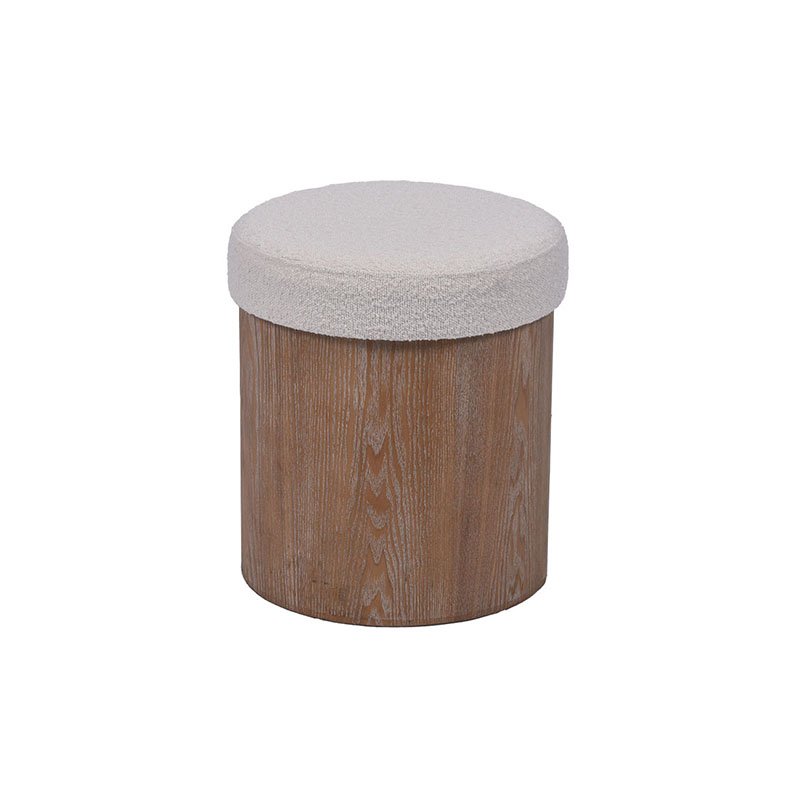
This vanity stool with storage combines style and practicality in one functional piece of furniture. Featuring a soft, cushioned top, it’s perfect as a footrest, extra seating, or a coffee table. The spacious interior offers ample room to store everything from blankets and pillows to remote controls and books, helping you keep your home neat and organized.
Crafted with Fabric and MDF, this stool is built to last. Its neutral color options allow it to fit seamlessly into any modern or traditional home décor. Whether placed in the living room, bedroom, or entryway, this vanity stool is a versatile addition to any space.
Dimensions: 42x40x48.5cmH
Material: Linen fabric, MDF wood, Foam padding
Colors Available: Grey, Beige, Navy Blue, White, Black, Gray
Weight Capacity: 250 lbs (can be used as seating)
Storage Capacity: 40L (perfect for blankets, toys, magazines, etc.)
Assembly: No assembly required
Lid: Removable, soft-close mechanism for easy access.
Incoterm: FOB Fuzhou Port
Processing Time: 40-48 business days (depending on order quantity)
Port of Departure: Fuzhou Port, China
MOQ: 50 units (custom orders negotiable)
Packaging: Plastic bag + brown box Payment Terms:
Payment Method: T/T (Telegraphic Transfer)
Deposit: 30% deposit before production
Balance: 70% before shipment or against Bill of Lading copy
Other payment terms can be negotiated for long-term partners.
This stool is exactly what I needed! The storage space is surprisingly roomy, and it adds a nice touch to my living room decor. Highly recommend!”
— Sarah M., California
⭐⭐⭐⭐⭐
“Perfect for my small apartment. The hidden storage is very practical. Great value for the price!”
— James L., New York
Q: How much weight can the vanity stool hold?
A: Our vanity stool with storage supports up to 250 lbs, making it suitable for sitting or placing decorative items on top.
Q: What can I store in the ottoman?
A: The spacious interior is perfect for storing blankets, pillows, books, remote controls, or even toys. It’s a great way to keep your space organized.
Q: Is the lid easy to remove?
A: Yes, the lid is removable and features a soft-close mechanism for easy opening and closing. The storage compartment is easily accessible.
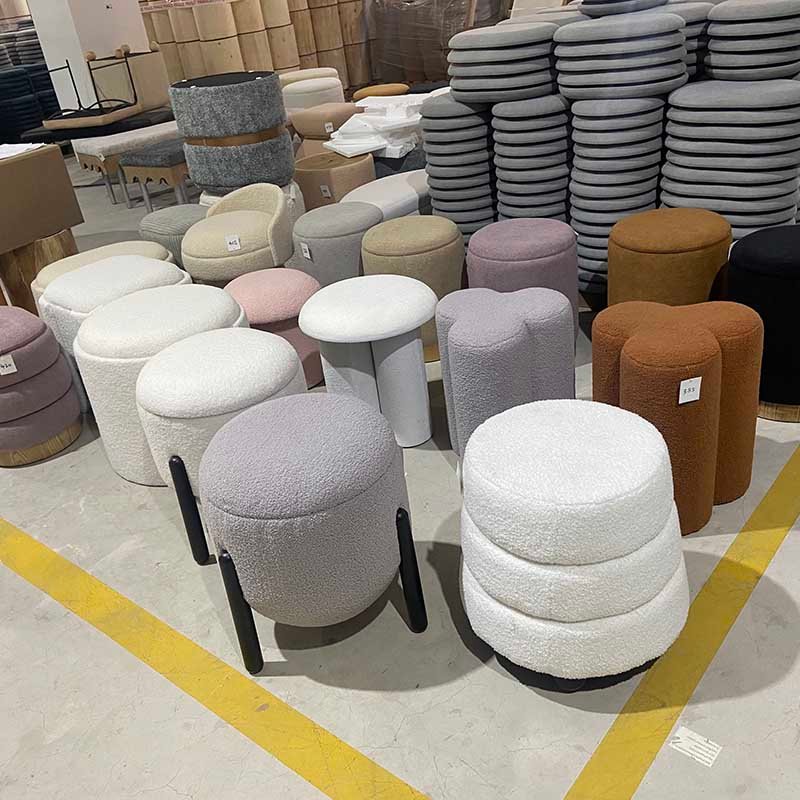
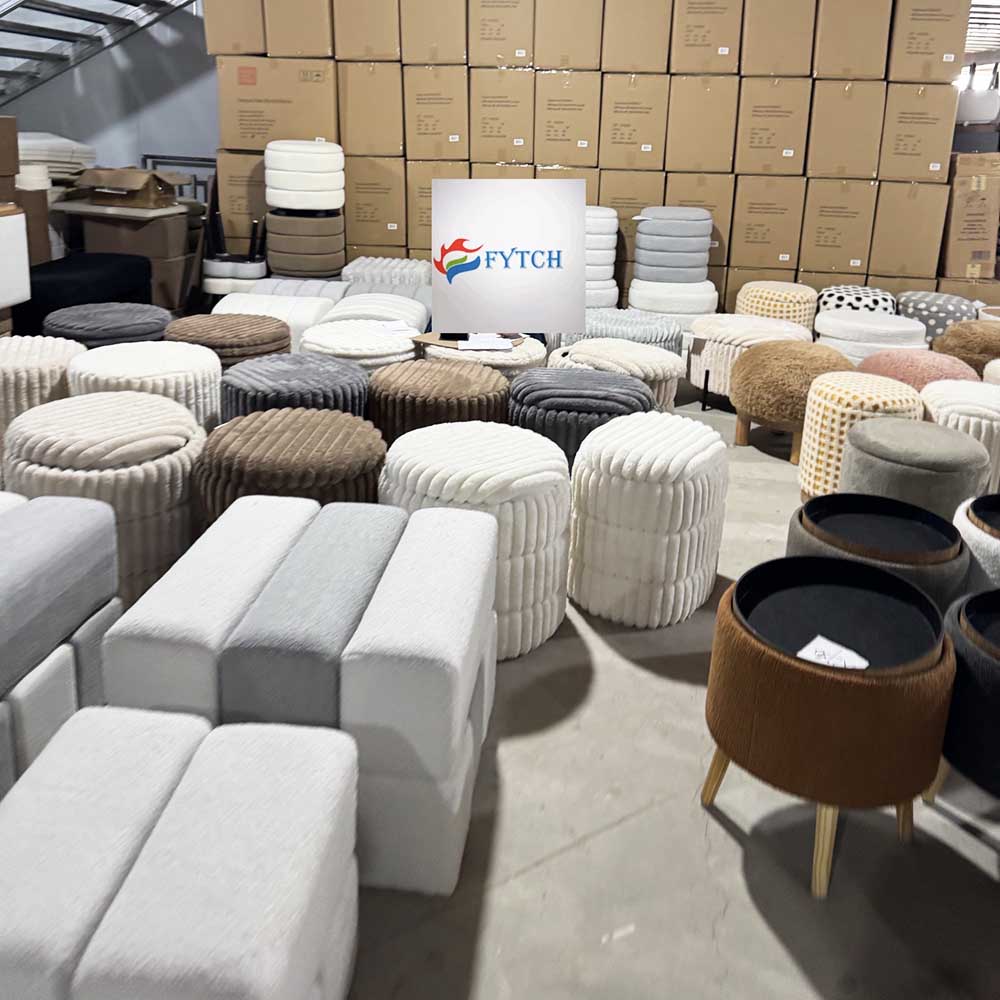
We are a professional manufacturer specializing in the production of a wide variety of fabric ottomans, offering both storage and non-storage designs. Our product range includes storage ottomans, poufs, footstools, upholstered benches, round and square stools, foldable designs, and multifunctional seating solutions, ideal for homes, offices, hotels, and commercial spaces.
1. Design Your Stool
Decide the shape (square, rectangle, oval or round) and size:
Common height for vanity stools: 16″–18″
Common width/depth: 14″–18″
2. Build the Base
Create a box from your plywood or boards:
Cut 4 side pieces and 1 bottom piece.
Attach the sides to form a frame using wood glue and screws.
Attach the bottom panel inside the frame (flush with bottom edges).
Tip: If you want a round base, you can cut a circle from plywood using a jigsaw or buy a pre-cut wooden round.
3. Add Storage Lid
Cut another piece of wood the same size as the top of your frame to serve as the lid.
Attach it with hinges to make it openable.
If you want a removable lid, just ensure it fits snugly.
4. Upholster the Lid
Cut foam to match the lid’s shape.
Spray adhesive to attach foam to lid.
Wrap lid (with foam) in batting and fabric.
Staple the fabric to the underside of the lid using a staple gun, pulling it taut as you go.
5. Paint or Finish the Base
Sand the entire piece for a smooth finish.
Paint, stain, or leave natural depending on your aesthetic.
6. Attach Legs (Optional)
Install pre-made furniture legs or casters to the bottom of the base for height and style.
7. Final Assembly
Attach the upholstered lid to the base using the hinges (or leave it as a lift-off top).
Check for stability and comfort.
Customization Ideas:
Tufted lid: Add decorative buttons for a more refined look.
Interior fabric: Line the inside with fabric for a polished finish.
Drawer addition: Add a small drawer under the seat if you prefer slide-out storage.


Fuzhou Fytch Home Decor Co., Ltd has more than 20 years of manufacturing experience. Our company was found as starlight in 2017, but factory established in 2005.
¡No se pierda nuestras futuras actualizaciones! Suscríbase hoy mismo
2025,FUZHOU FYTCH HOME DECOR CO., LTD Todos los derechos reservados.